An essential step of gathering requirements before building a software product is visualizing your concepts and ideas. While user stories are a great way to describe what your app should do from the user perspective, a visual representation of the UI will allow you to show how you think your users should achieve their goals. Then you can validate your assumptions by interviewing the customers again.
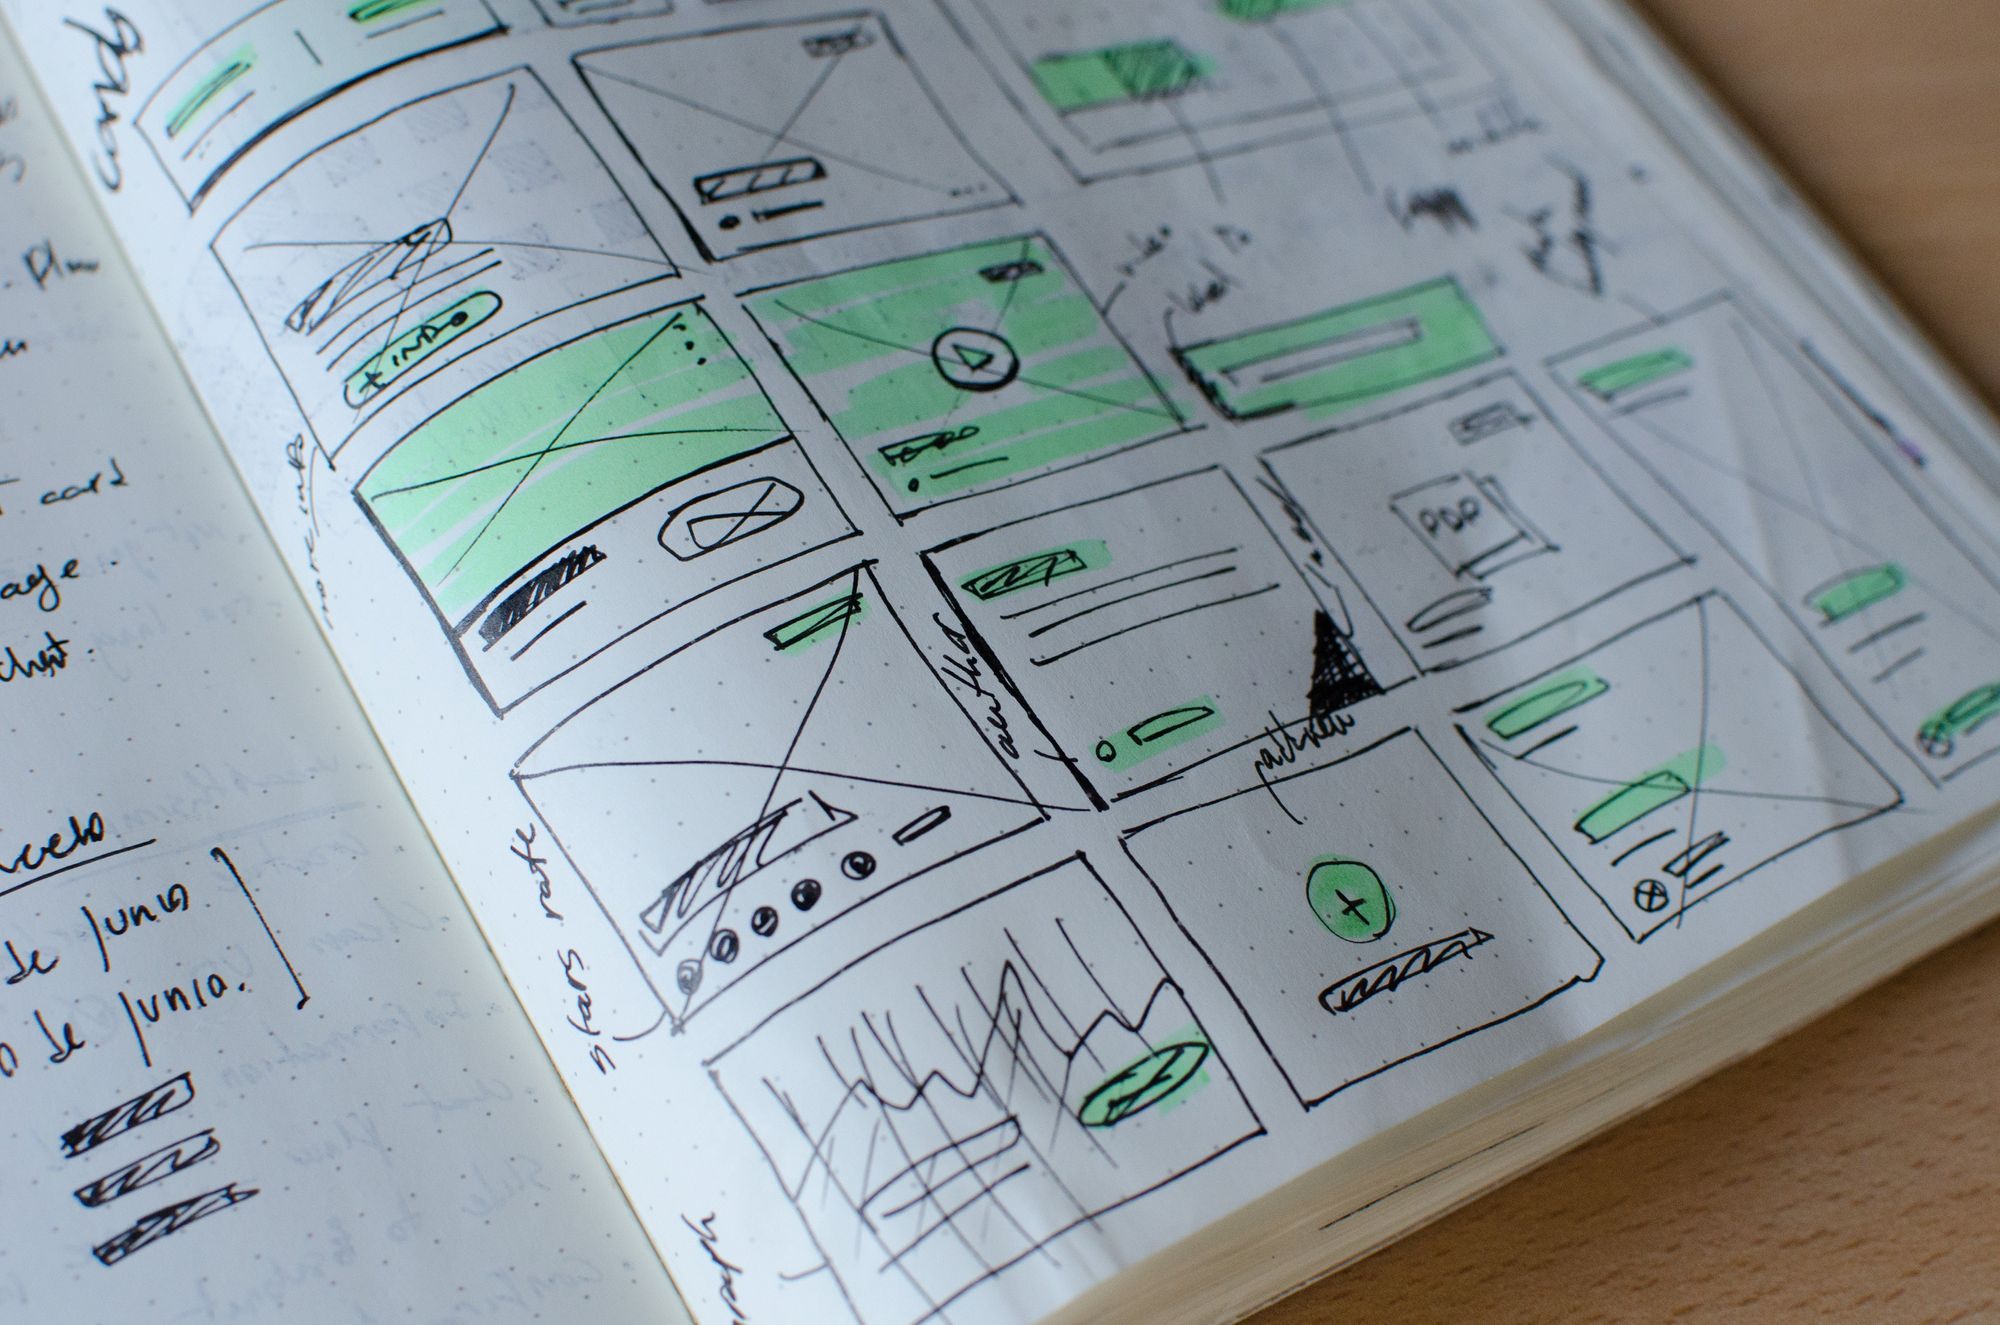
To start mocking up the UI, you need nothing more than a pen and a piece of paper. Sketching the app screen by screen will allow you to iterate over different variations of user flow quickly. Once you’re happy with the layout, you can start creating digital versions of your sketches — low fidelity wireframes. With as much stress as possible, you will have a set of screens you can easily share with anyone to get their feedback and refine.

Paper prototyping
Paper is an incredible tool. It’s cheap and requires the lowest effort to start writing or sketching something. Paper can be your personal medium, or it can be a communication and collaboration tool. It might be counterintuitive to begin with paper sketches when there are so many sophisticated tools out there, but in this case, the best tool is the simplest one. A recent study shows that 64% of designers use paper as a crucial part of the process.
When sketching on paper, you can completely let your inner critic go. Your prototypes can be as messy as you want as long as you understand the concept. There’s almost no expectation for the quality of these sketches.
There’s a simple trick to get you going if you have trouble starting. Just try to sketch an interface of the app you are familiar with — Youtube, Gmail, Facebook or some other app you like and know well. You will see that you can quickly sketch whole application in munites. The more you draw, the better your thinking and visualizing skills become.
Getting a good pen is quite important for paper prototyping. I prefer fineliner pens because of the special feeling they give you when sketching. There are plenty of fineliner and other great types of pens out there, but any pen will do the job in the beginning.
You might want to use some templates to speed up your sketching. Sneakpeekit has a great set of printable templates as PDF files that you can download for free. Do you find yourself redrawing same elements over an over again or want to add a professional touch to your prototypes? Purchase stencils with UI elements to take your drawing to the next level.
To experiment with a high-level user flow try to use post-it notes. A note itself is quite small, so you won’t be able to get into a specific screen’s detail, but a set of these notes will allow you to experiment with the order of the screens and easily redraw and replace them as you want.

Wireframing
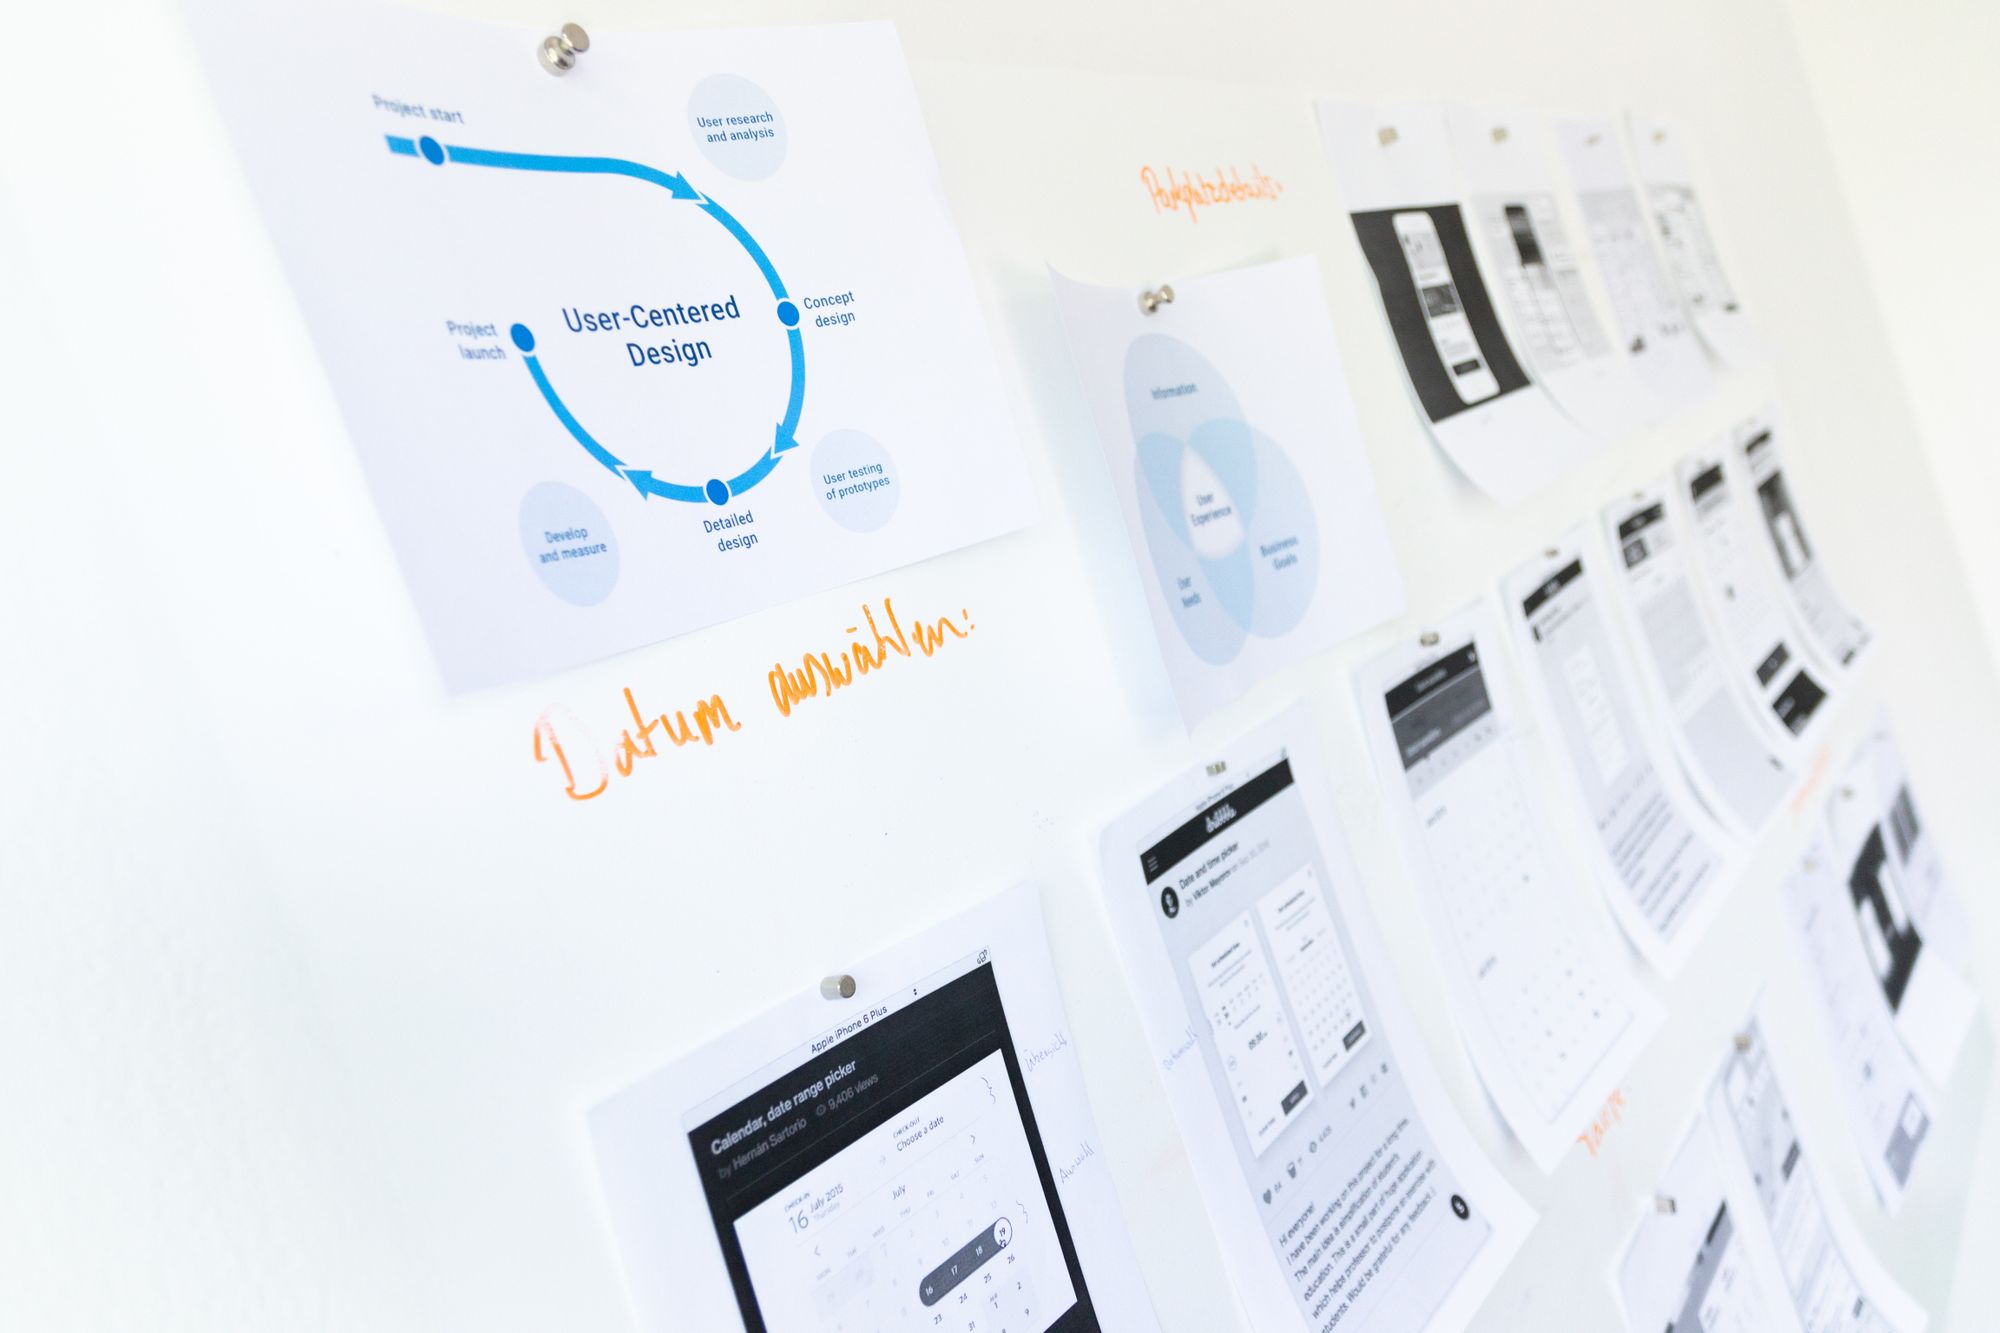
Wireframes are a digitalized upgrade of paper prototypes. They typically have more detail and act as a skeleton of your app’s UI. Working with wireframes allows you to keep your focus on the function and not being carried away by the details like color, fonts, and icons.
Wireframes are almost as easy to create and update as paper prototypes, though this time you will be limited by the wireframing tool you will use. However, wireframes yield much better results when performing user testing — they feel more professional, and they are usually much more comprehensible than paper prototypes.
Presentation tools that you are probably using are likely to contain pre-built UI kits you can use. You can use those kits to transform your paper prototypes into beautiful wireframes in minutes, by just dragging and dropping the elements onto the screen frame.
You can quickly map your user’s journey through the app by adding some interactivity to your prototypes. Depending on the complexity of your app and the number of screens it can be quite time consuming, but it allows you to test user experience while watching people clicking through the screens.
Don’t look for a perfect tool to do the job, use something simple. Powerpoint and Keynote have UI kits for wireframing, as well as Draw.io, a diagramming tool that works with Google Docs. If you want to take it a step further you can use Balsamiq Mockups — it allows you to create clickable and easily editable wireframes quickly and collaborate on them online.
Benefits of low-fidelity prototypes
Creating a simple prototypes or wireframes will save you time in the long run and will streamline the development process for the whole team. Here's are some great benefits of wireframes:
Everyone will understand you
A typical app contains more than hundred user-stories. While they are useful to describe the requirements from the user perspective and prioritize work during the development phase, they are hard to grasp all at once. Visual information is processed much faster than written or verbal, and the developers, designers, and other team members will be able to quickly cycle through the app to quickly understand what you want to build
Anyone can participate
Anyone can easily edit paper prototypes and low-fi wireframes. Have an advisor with a lot of domain knowledge? Ask her to take a look at your prototypes and provide feedback. Chances are she will tell you that you should move the buttons up on that important screen (and actually draw it) because current app used within your target market have those buttons down below and everyone is annoyed.
They save you money
The design is an iterative process, and subsequent step requires more effort. Writing user stories is easier than creating wireframes. However, creating wireframes is much easier than creating high-fidelity designs or writing actual code. Most importantly, you can make changes at any time without no cost. With each next step, the amount of time and money you will need to burn to make a change increases dramatically, so you should iterate during the prototyping phase until you are happy with what you have.
As you move through the process of mapping out the requirements, it’s important to use the right tools. Converting the knowledge you gained from customer interviews to user stories and then visualizing those stories as UI screens is essential to get the full understanding of what kind of product you want to build. When mapping out ideas paper is a perfect tool, but it’s hard to share paper sketches and they might be hard to read. With lo-fi wireframes you can quickly share your high-level structure, get feedback and get next set of valuable insights from your customers.


